During my tenure working with Sitecore I have had a few clients that wanted the ability to import data into Sitecore items from an Excel spreadsheet as well as export Sitecore item/s data to an excel spreadsheet. I was unable to find a shared source module that would do this simple transfer easily so I ended up having to build a utility for every client. I finally decided to build a Shared Source Module for this basic task, http://marketplace.sitecore.net/en/Modules/Excel_Transfer_Utility.aspx. The Excel Transfer Utility is a simple module that will give you the ability to import data from an Excel spreadsheet that are converted into newly created Sitecore items in the content tree. Also, the export functionality will export the data from a Sitecore item (single item or all children items) data to a .csv file for use with an Excel spreadsheet. This post will detail out the utility and how to use it.
Import
The Import functionality is intended to be used given the following requirements:
- Microsoft Excel 97-2003 files only (Newer Excel files must be converted to 97-2003 before uploading)
- Headers are in the first row of the spreadsheet
- Item name is the first column of the spreadsheet
In this example we are going to import a simple spreadsheet into a folder item called “Excel Transfer Folder” in the Sitecore content tree as seen below:

Import Folder with ID: {A91FD891-C477-45F5-B20A-7CFA7F8B53E5}
We will also need to know the template ID of the template we want to use for the imported items. Below is the template we will use:
Sample Template with ID: {D2775315-00DC-4CF4-8B68-E9748127D188}
Below is an example with a simple spreadsheet with 3 fields (Single Line Text Field, Checkbox Field, and MultiList Field) and data for those fields:

Spreadsheet with 3 fields and sample data.
Now that we have a spreadsheet with data ready to import we simply open up the Excel Transfer Utility from the Sitecore admin area using the Desktop view:

Excel Transfer Utility Shortcut in Applications
Once clicked on the application will open up in a new window:
Excel Transfer Utility Home Screen
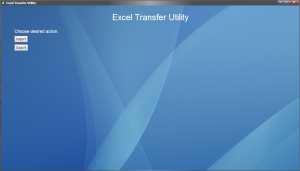
Click the Import button and you will see the following options. Choose your file and click the Upload button:
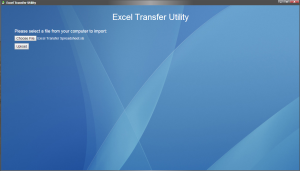
File Selection for Import
Once the file is uploaded the sheet names in the Excel spreadsheet will be in the DropDownList. Select the sheet with the data to import. Next, enter the template ID to use for the imported items and click the Next button:
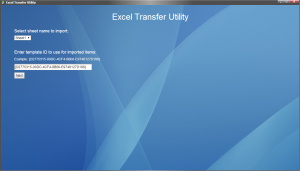
Sheet & Template Selection
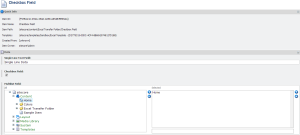
Now select the Header name to be used for the item names. Then select the Template Item Fields that are to be mapped with each of the spreadsheet fields (picked up from the Header in the first column). Next, enter the parent item ID where all items in the spreadsheet will be imported to as children and click Import:
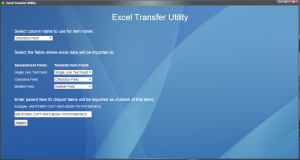
Mapping & Item Selections
If the import was a success then you will see the success screen as seen below:
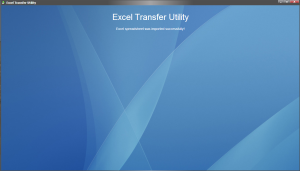
Import Success Message
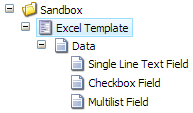
Now when we take a look at the “Excel Transfer Folder” in the Sitecore content tree we can see the imported items, in this case since there is only one one row of data, there is only one item that was created:
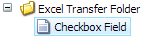
Imported Items
When we look in the item at the field data we can see the data was imported into the fields for the item:
Imported Item Field Data
Text is imported as text, values for checkboxes are either “true” or “false” in the spreadsheet not 0 or 1, and lastly multilist values in the spreadsheet must be a pipe separated list of GUID’s. Please note: mapping data to incorrect fields will product unexpected results such as a text field to a checkbox field in a Sitecore item.
Export
In this example we will export the item created in the Import example to a .csv file for use with Microsoft Excel:
Item to Export
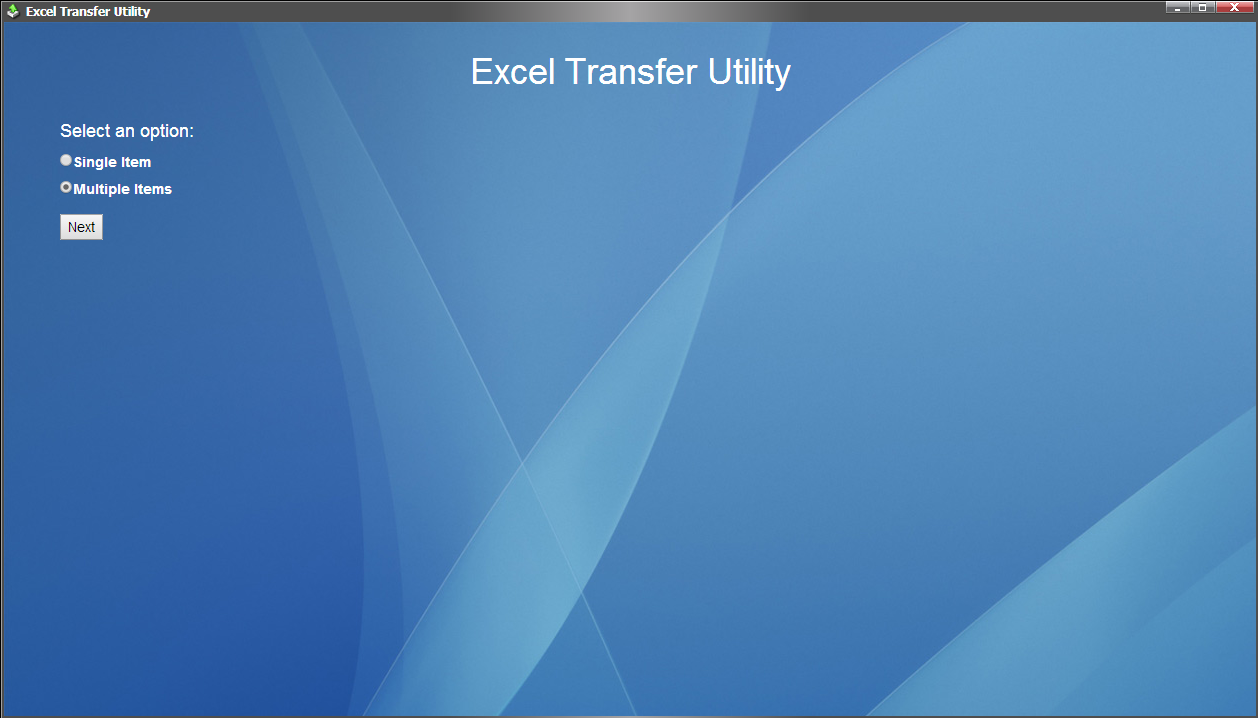
Again, we simply open up the Excel Transfer Utility from the Sitecore admin area using the Desktop view and click on the Export button this time. Now, we select multiple items because I want to select all the items in the Excel Transfer Folder, which is one, but if there were several items all of them would get exported:

Initial Export Selection
Next, we either insert the item ID (if single item) or the parent item ID (if multiple items) and the children items of the parent will be exported:
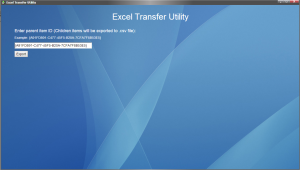
Multiple Items Export
Once we enter the ID we click on the Export button and the items are exported to a .csv file:
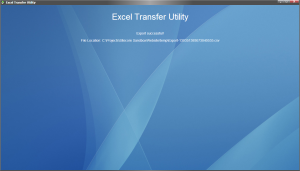
Export Success with File Path
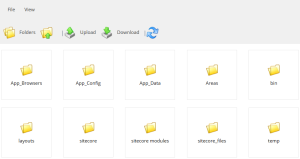
Copy the file path into Windows Explorer and the file should open up in Microsoft Excel as seen below:

Exported Items
If you have any questions or ideas on how to make to the tool better please comment. Thanks and happy coding!